Garage door sensor alignment: watch the LED, not the aim
Every guide gives the same four steps. The part that decides whether they work is knowing which light to watch and what else produces the identical symptom.
Garage door sensor alignment means aiming two photoelectric units at each other so an infrared beam crosses the opening within six inches of the floor. Alignment is confirmed by the indicator LED on the sensor, not by eye, and federal rules have required these units on residential openers since the early 1990s.
What the sensors are for, and why they are mandatory
Why does every opener have these?
Because CPSC documented dozens of child entrapment deaths under automatic garage doors, and federal requirements followed. Since 1992 residential openers have had to carry entrapment protection devices, and photoelectric sensors mounted low across the opening are how manufacturers meet that.
Knowing that changes how the annoyance reads. The sensors are not an over-engineered inconvenience, they are the specific response to a specific harm.
It also explains why garage door sensor alignment is a two minute job rather than a service call: the hardware is deliberately simple and deliberately accessible.
Four steps that actually work
How to align them properly
01
Clean both lenses first
A fogged, dusty or spider-webbed lens produces the identical symptom to a misaligned bracket. Wipe both with a soft dry cloth before you loosen anything.
02
Loosen one bracket only
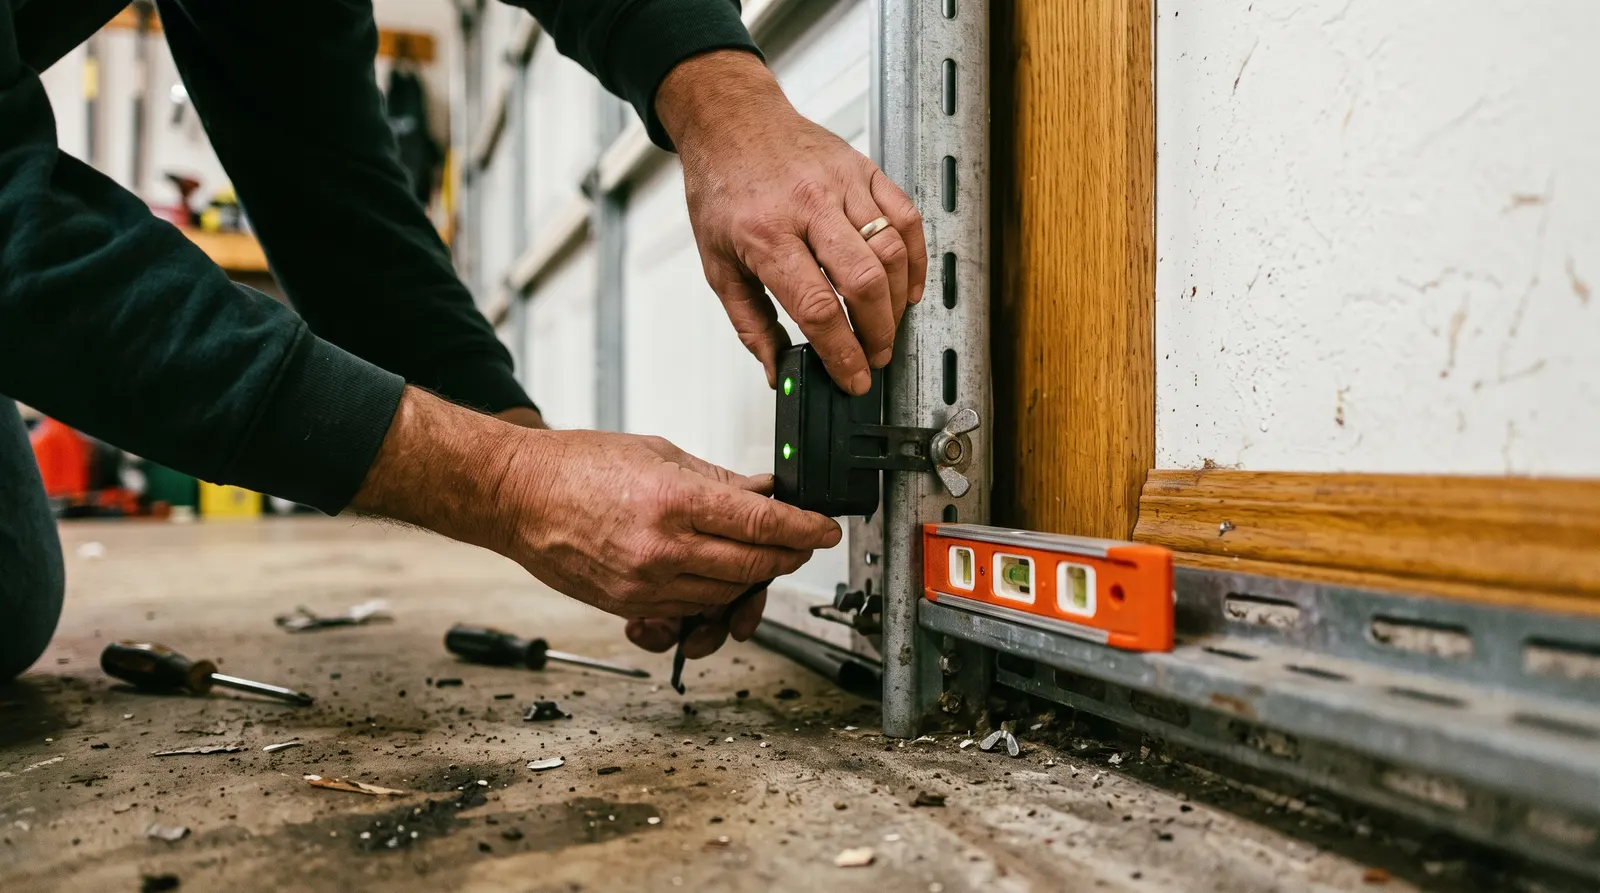
Work on the receiving sensor. Loosen the wing nut just enough that the unit moves with light pressure and no more.
03
Move until the LED goes solid
Tiny increments, watching the indicator rather than the aim. The light is the instrument and your eye is not accurate enough at this distance.
04
Hold it and retighten
Most failed alignments are caused by the sensor shifting as the nut goes back on. Grip the unit while you tighten, then run a full cycle twice.
Garage door sensor alignment starts at the LED
One sensor sends the infrared beam and the other receives it, and the two indicate differently.
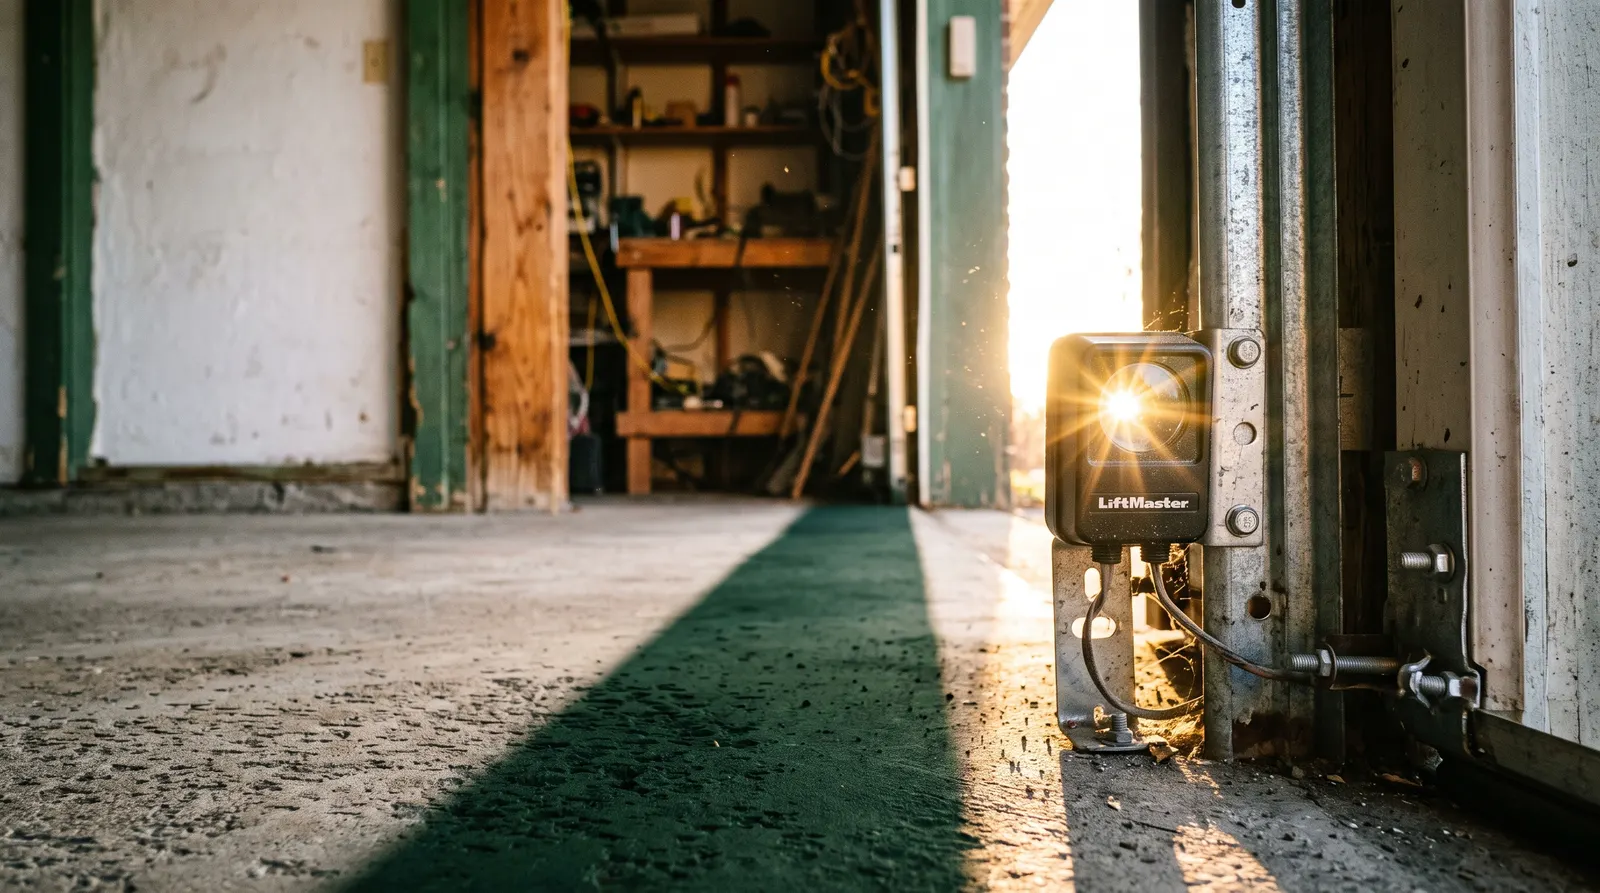
The sending unit generally shows a steady light whenever it has power, which tells you almost nothing about alignment. The receiving unit is the informative one: steady means the beam is landing, off or flickering means it is not.
That distinction matters because people spend a long time aiming at a light that was never going to change. Find the receiving unit first, and work on that bracket.
Brand differences worth knowing
This is the part a general guide cannot cover honestly, because manufacturers do not agree with each other.
LED colour conventions differ. Green and amber are used for different meanings by different brands.
Steady versus flickering can indicate the opposite state between two manufacturers.
Sending and receiving units are labelled differently and are not always obvious.
The manual is the authority for your unit, and most are online by model number.
Find the model number on the motor unit label rather than guessing from the brand on the door. Openers outlive doors and get replaced independently.
When it is not alignment at all
What else produces the same symptom?
A dirty or fogged lens, direct low sunlight saturating the receiver, damaged sensor wiring, or a sensor pair fitted the wrong way round. All four look exactly like misalignment from the doorway, and none of them are fixed by moving a bracket.
Work through those before you spend twenty minutes chasing an aim that was already correct.
The one thing not to do
Disconnecting the sensors, taping them face to face at the opener, or mounting them higher up the track all defeat the protection they exist to provide. Openers have carried entrapment protection by federal requirement since the early 1990s for reasons documented in CPSC injury data. Fix the beam rather than removing it.
Why brackets drift in the first place
Sensors sit at ankle height in a room full of bicycles, bins, sports equipment and reversing vehicles.
Most misalignment is impact rather than gradual drift, and the same object usually does it repeatedly. Vibration loosens a wing nut over months, and then one nudge is enough to move it.
A simple guard, a repositioned bin, or relocating the bracket a few inches along the track ends the cycle. That is the difference between fixing it and fixing it again in March.
Testing the wiring without tools
Sensor wiring is thin, low voltage and frequently stapled to a wall stud by whoever installed it.
Follow the wire from each sensor back to the opener head, looking for staples driven through the insulation.
Check for chew damage where the wire runs behind stored items or along a rafter.
Look at the terminals on the motor unit for a wire that has worked loose.
Swap the leads at the opener to see whether the fault follows the wire or stays with the sensor.
None of that needs a meter. If the fault follows the wire, the run needs replacing, and if it stays with the sensor, the sensor does.
When the sensors are fine and the opener is not
Solid LEDs on both units and a door that still refuses to close means the fault is elsewhere.
Travel limits, close force, a binding roller, a bent track section or the logic board are the remaining candidates, and our page on a garage door that will not close works through them in order.
Both LEDs steady means aligned. One blinking means the beam is broken or the pair is not facing each other.
What replacement costs
Indicative US ranges. Always get a written quote.
Job
Typical range
Notes
Alignment
no part cost
Two minutes with a wing nut
Lens cleaning
no part cost
Rule this out before adjusting
Replacement sensor pair
inexpensive part
Sold as a matched set
Sensor wiring repair
technician work if buried
Staple and rodent damage is common
Opener replacement
$300–$900 installed
Only if the receiver or board has failed
Source: HomeGuide 2026 garage door opener installation cost data, with part-level costs stated qualitatively where no published figure exists (retrieved August 2026). Figures vary by region, severity and after-hours timing.
Figures last checked
The gap between the third row and the last one is the reason to diagnose properly. A sensor pair and a new opener are not the same decision.
How the matching works, and what we do not do
Emergency Services 24H is a referral service. We do not employ garage door technicians and we do not sell sensors or openers.
Your request routes by ZIP code to licensed, insured technicians covering your area, and they contact you directly. If the two minute version works, that is the better outcome.
What homeowners actually ask
What owners report
Drawn from real public forum threads and reported prices, summarised and attributed as patterns.
These are not reviews of this site, and no names or ratings have been invented.
“Garage door sensors aligned but door will not close”
SourceA related search on this SERP with real volume behind it. It exists because alignment gets treated as the only cause, when a dirty lens, direct sun or damaged wiring produce the same symptom.
“My garage door does not close by itself anymore. Is...”
SourceThread title, r/HomeImprovement. The thread and the AI Overview citing it both land on sensor misalignment or obstruction as the leading cause.
“CPSC required entrapment protection devices on residential garage door openers from 1992”
SourceU.S. Consumer Product Safety Commission. The requirement followed dozens of documented child entrapment deaths, which is the reason these sensors are not optional equipment.
1 / 3
The aligned-but-still-not-closing search is the interesting one. It exists because the SERP treats alignment as the only cause, and a sizeable minority of these faults are something else entirely.
Know the line
Safe to do yourself, or call a technician?
Safe to check yourself
Cleaning both lenses
Loosening and realigning a bracket
Swapping sensor leads at the opener to isolate a fault
Fitting a guard or moving stored items away
Replacing an accessible sensor pair
Call a pro now
Wiring damaged inside a wall or conduit
A receiver or logic board fault on the motor unit
A door that reverses with both LEDs solid
Anything requiring the door to be held or supported
A machine still under manufacturer warranty
24/7 dispatch network
Get a licensed garage door technician
Tell us what the sensor lights are doing and give us your ZIP code. Licensed, insured technicians covering your area will contact you directly. No obligation to hire.
Fire, a gas smell, or an injury? Leave the building and call 911 first, then your gas
utility or power company. Use this form once you are safe.
Straight answers
Frequently asked questions
The questions homeowners actually search for on this problem, answered in plain language.
Loosen the wing nut on one bracket, move the sensor in very small increments until the indicator LED goes solid, then retighten while holding it still. Clean both lenses first, because a fogged lens produces exactly the same symptom as a misaligned bracket.
Do garage door sensors need to be perfectly aligned?
They need to be aligned well enough for the beam to land on the receiver reliably, which the indicator LED tells you. Perfect is not the standard, stable is. A beam that holds only when nothing moves will drop out the first time a car door closes nearby.
How can I tell if the sensors are misaligned?
The opener refuses to close, usually reverses immediately, and the light on the motor unit blinks a fault code. On the sensors themselves, the receiving unit LED will be off or flickering rather than steady. That LED is the fastest diagnostic on the whole system.
Does it matter which sensor goes on which side?
Yes on most systems, because one unit sends the beam and the other receives it, and they are not interchangeable. They are usually labelled. If a previous repair swapped them, the system will not work regardless of how well aimed they are.
Both lights are on but the door still will not close. Why?
Then the sensors are not your problem. Look at the down travel limit, the close force setting, an obstruction in the track, a binding roller, or the opener logic board. Solid LEDs on both units genuinely does rule the sensor circuit out.
How much do replacement sensors cost?
A replacement pair is one of the cheaper parts on the system, and they are sold as a matched set rather than singly. Compare that against opener replacement at roughly $300 to $900 installed before concluding the whole unit needs changing.
Aligning the beam
Sun glare on the receiver
This is one of the few faults on the whole site that a homeowner can usually fix for nothing, in about five minutes.
Tell us what has failed and where you are. We route your request to licensed, insured contractors covering your ZIP code, and they contact you directly.
Fire, a gas smell, or an injury? Leave the building and call 911 first, then your gas
utility or power company. Use this form once you are safe.